
reverb + space
create unique spaces to add flavor to familiar sounds
Use space in creative ways to turn any instrument
into your own signature sound.
BEFORE ➡️ AFTER
Piano chords without space ❌

Piano chords with space ✅
Guitar lick without space ❌
Guitar lick with space ✅
Bass synth without space ❌
Bass Synth with space ✅
Note: Full Ableton Set with the above examples + effect chains available for purchase at the bottom of the page.
YOUIR PATH TO
CREATIVE SPACES ✅

STEP 1: CREATE A NEW REVERB SEND

The foundation of this exercise is the send track. A send track is simple: it’s the practice of putting creative effects on a separate copy of your original sound vs. on the original sound directly.
In this exercise it’ll allow you to get more creative because you can easily create multiple effects tracks and compare them quickly, all while leaving your original sound untouched.
Here are two ways to set up send tracks:
Method 1 (Easiest): Set up a Standard
Ableton Send Track

add some effects to your send tracks at the bottom right hand corner

click and drag to add volume to these knobs and tell your track (“PIANO W/ SPACE” in this example) to start sending audio to your send tracks.
Method 2 (Recommended for this Exercise):
Set up a Send Track Manually

create a new track (command + t) directly below your original sound.

add the track to a new group (command + G) and name it “SENDS”

copy and paste your original audio into the new send track
This method will allow us a bit more control later on, and also can make larger projects a bit easier to manage since any sound and all of its effects are coupled together.
❓ “HOW do I know WHEN to use each method?”
Method 1:
Easiest to set up
Best for sharing effects chains between multiple tracks (e.g. vocal chain and drums both using the same reverb chain)
Method 2:
Finer-grained control and greater flexibility over sounds and processing
Good for larger projects (sounds are located right next to all of their effects - easier to find)
STEP 2: GET WEIRD WITH IT
Great! Now you have your reverb send tracks set up, it’s time to experiment.
Maximum creativity.
Forget about mixing your sounds, or even about trying to make them sound good. There are no rules or wrong decisions here - only that you’re in a contest and the weirdest sound wins.
Below is a shortlist of some techniques to try as you get creative with your send tracks. As you stumble upon new techniques or if you have your own fun ways of making things weird, feel free to explore those avenues as well.
Pro tip - save your chains ✅
as you try new things and stumble upon new sounds and effect chains, save them! You can either save the chains themselves as you go, or write down a description of what you did - i.e. “I liked pitching down the reverb an octave”
Get Weird With It: Panning
This is a relatively well-known technique used on guitars to add extra dimension, but you can (and should) try it on any instrument you’d like to add some huge stereo dimension.
Note: this is a powerful tool, use more sparingly for maximum contrast and impact.

Pan your original sound hard left or hard right.

Pan your send / effect track(s) to the opposite side.

OPTIONAL: center the low frequencies in the stereo field using a utility.
Depending on the sound you’re using, if there’s a good amount of low end, hard panning them might sound a bit unnatural.
If it’s unnatural in a way that you like (remember, we are aiming for wEiRd here…), then leave it!
If it feels off balance in a way that doesn’t please your creative tastes - add a utility on a group that includes both the original sound AND the effects with the bass mono setting turned on, and play around with the cutoff frequency - really listening to how it sounds as you sweep between 500hz and 100hz.
Get Weird With It: Distortion
Who said you can’t absolutely mangle your space effects with distortion?
Whether for creative effect, or for practical mixing, saturating / distorting your original sound with the space around it can have a “glue”-ing effect where the sound becomes more intertwined with the space around it.
At higher distortion levels, the space can become indistinguishable from the original sound, creating an entirely new sound altogether.
Rad.

Create a group that contains both your original sound and your send tracks (method 2 is required for this technique)

Add a distortion plugin or effect.
For maximum creativity, try using a distortion plugin you’re not familiar with or rarely use and crank different knobs to the max and see what happens.
Get Weird With It: Automation
Automate. Anything and everything.
Especially reverb. Space in the “real world” is usually static, e.g. if you’re singing in a room, it can’t magically get bigger in real life. But it sure can in our DAW!
Try automating a random knob on your reverb device and see what it feels like when it changes.
Try really quick changes for a creative effect, or perhaps some slower changes for some subtle movement.

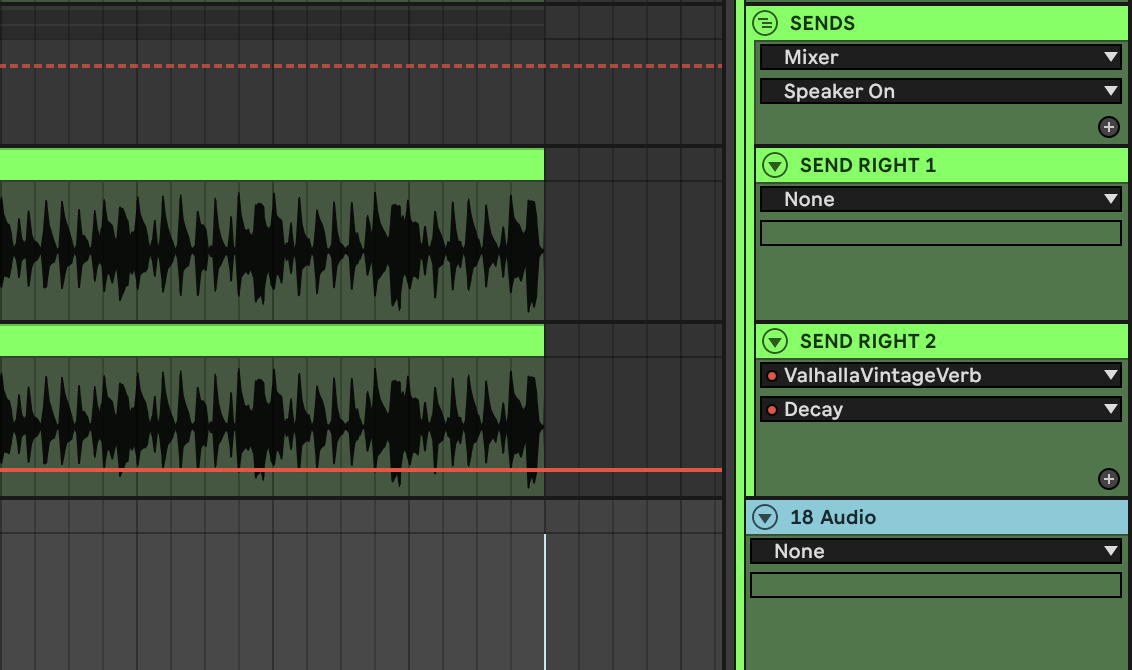
In this example, we’re automating the length of the decay from extremely long to extremely short rhythmically to the beat.
Get Weird With It: Render your Space and Move it Elsewhere
Once you’ve made some cool sounds - try rendering them out as their own audio sample, and moving them to completely different parts of your track.
They’re sounds just like anything else - here are some creative ways to use the new sample:
layer over drum fills
reverse the reverb samples to create a sweet riser transition effects
add them as a space filler (no pun intended) between words if you have a vocal track instead of relying on the usual delays / reverbs on the vocal itself to fill it out
Create a new track directly below your SENDS group

Change the input mode on your new track to “Resampling”. This will allow you to record whatever is being sent to master vs. recording from this track specifically.

Solo your SENDS group so that when we start resampling, we’re only recording the audio coming from the SENDS tracks aka all of your effects.

Hit Record and watch your send effects get rendered in real time as a new audio clip that we can now chop up, move around, reverse, change the pitch, and whatever else comes to mind to get even weirder with it.
Step 1: DONE
Step 2: DONE
📍Step 3: dial it in.
STEP 3: DIAL IT IN
Congratulations! You’ve done the hard creative work.
Now is the time to take a break from your computer, and give your ears a refresher.

Go for a walk outside. Fresh air and exercise are proven to be good for your soul, and also a change in the space you’re in will refresh your ears faster.

Read a book. Preferably not something at all related to music. Read a Michael Crichton book on how little robots will devour humanity. Read a Martha Stewart book on how to make the perfect apple tarts.
Creating cool reverb spaces are only as good as your ability to fill them with new ideas. Refreshing your creativity with non-music things is a must.

Watch a comedy special (or even go to a show).
Being an artist is hard. I can’t tell you how many times a good laugh saved me from getting down on myself during creative lulls, and even inspired new songs.

Meditate.
Meditation is a great way of sharpening your mind, your ability to accept what is, and practice showing up even when it’s difficult.
Once you’ve taken that well deserved recharge session - go back into your track and listen back to some of your interesting sounding spaces.
They’re not going to be perfect. Expect that.
With that in mind, go through and take note of any interesting sounds.
For those that you like - what about them is cool? For those that you don’t quite love - what is it about the sound or the space that isn’t bringing you joy?
For those sounds that you do like, adjust the volume up and down relative to your original sound and figure out the balance between the original sound and the new space that is best for your particular track.
REMINDER - SAVE YOUR SOUNDS / FX FOR LATER ✅
Save now, love yourself later. Everything here you just made here is potentially inspiration for a new song, that “one thing” that unblocks you creatively later on, a quick way to get cooler sounding spaces for a future track. Save it and see how much faster and more creative you become when you already have cool sounds to draw from.

CONGRATULATIONS!
YOU ROCK.
YOU DID IT.
Seriously.
Showing up for yourself like this and growing your artistic capabilities isn’t easy, and if nobody else says it, let me be the first - I’m proud of you for sticking with it.
All of the screenshots and ideas were taken from the Ableton set below which is available for purchase in our store. Use it as a reference, a starting point, or just save the chains and use them for whatever you’d like. You deserve it.
Download link below.
